
Wall projects like a glow-in-the-dark wall transform your party space and give you a simple, safe way to entertain guests; in this guide you’ll learn what a glow wall is, when to use it, the products you need (glow paint, stickers, UV torch), step-by-step methods for painting or applying decals, pros and cons of each approach, and creative ideas to make your wall a highlight of the night.

Table of Contents
What is a Glow in the Dark Wall?
Definition and Concept
A glow in the dark wall is a surface treated with photoluminescent paint or covered in glow stickers that absorb light and re-emit it when the room goes dark. You’ll commonly see strontium aluminate pigments (visible up to 8–12 hours, brightest in the first 30 minutes) or older zinc sulfide types (1–2 hours). Charging works with ambient light but UV/blacklight at 365–395 nm charges pigments faster and more vividly; typical paint needs 2–4 coats for even coverage.
Purpose and Uses
You use a glow wall mainly for entertainment—party backdrops, kid activity walls where children draw with UV torches, and photo booths—plus practical accents like emergency markers. For a 10×8 ft play wall, deploying 2–3 handheld 3W UV torches or a single 18–40W blacklight tube gives even charging. Stickers let you set up in minutes; paint creates a durable canvas for repeated events or permanent installations.
Expanding on that, you can tailor the wall to the event: provide UV pens for kids’ freehand art, pair the wall with neon decor for a club vibe, or use stencils and multiple paint colors for themed birthdays. You’ll get the best results if you test pigment types—strontium aluminate for long glow, zinc sulfide for budget builds—and place UV sources 2–4 feet from the wall for consistent brightness during activities.
Essential Products Needed
You’ll need a handful of items to build a showpiece wall: glow paint (phosphorescent or UV-fluorescent), glow stickers or vinyl, a handheld UV torch or 15–40W blacklight for rooms, painter’s tape, drop cloth, brushes/foam rollers, stencils, and spare batteries. Expect about 1 quart of paint to cover ~100 sq ft with two coats, sticker packs in 100–500 counts for larger parties, and 1–3 UV torches so guests can draw and explore simultaneously.
Glow Paint
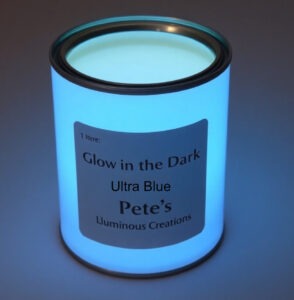
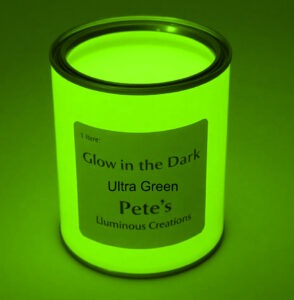
Choose water-based phosphorescent paint for self-charging glow or fluorescent paint for instant UV-reactive color; phosphorescent pigments typically charge in 10–30 minutes under bright light and can glow visibly for 30–180+ minutes depending on pigment grade. You’ll want 2–3 thin coats for even coverage, a white primer underneath to boost brightness, and fine brushes or a 4–6″ foam roller for consistent application on drywall or poster board.
Glow Stickers and UV Torches
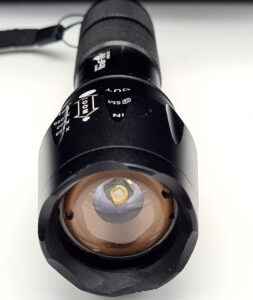
Glow stickers come in rolls of 1 meter width and 10 to 50 meters in length. You can create patterns quickly with a handheld UV torch (365–395 nm range is most effective) to make stickers and fluorescent paints pop.

Choose torches rated around 100–1000 mW for bright results—consumer models around $10–40 work well—and keep extras so multiple kids can play at once without waiting.

You could also use themed sticker packs (stars, letters, animals) and place them in clusters or grids to form constellations or messages; packs of 200 stickers cost roughly $8–20 online, while a 3W UV flashlight (~$15) lights a 6–8 ft wall area clearly. At one birthday event, two 3W torches paired with 250 stickers kept a group of 12 kids engaged for over 90 minutes as they hunted, traced, and rearranged designs under the blacklight.
Methods for Creating a Glow in the Dark Wall
Using Glow Paint
Prep your surface by cleaning and priming, then choose a water-based phosphorescent paint designed for walls. Apply 2–3 thin coats with 15–30 minutes drying between coats for even charge storage; thicker layers glow longer. Charge the paint with a UV torch or bright light for 10–30 minutes — most formulas peak immediately and continue glowing 4–12 hours depending on pigment and film thickness. Use stencils, rollers, or brushes to create sharp shapes, gradients, or murals.
Using Glow Stickers
Pick photoluminescent vinyl stickers in rolls or peel-and-stick shapes in packs of 50–200 to suit your wall size; they’re the fastest, least-mess option for parties. Lay out a grid or constellation pattern, use a level for straight lines, then press firmly to remove bubbles. Charge stickers with room lights or a UV torch for 5–20 minutes — typical glow time ranges 2–8 hours depending on material quality — and swap or reposition designs as needed.
For longer-lasting results choose thicker, medical-grade or commercial photoluminescent vinyl and avoid highly textured paint that reduces adhesion. Combine small star packs (100–150 pieces) to create constellations or use larger custom-cut decals for logos; secure large sheets with low-tack mounting tape if you want temporary removal. When taking them down, warm the adhesive with a hairdryer to reduce residue, and store extras flat to preserve stickiness and glow performance.
Comparison of Glow Paint vs. Glow Stickers
| Glow Paint | Glow Stickers |
| Customizable designs, you can blend colors and create murals or fine details. | Fast, no-dry application with consistent shapes—ideal for patterns and repeatable motifs. |
| Typical glow duration 6–12 hours after a strong UV charge; often needs 2–3 coats for even coverage. | Often glows 6–10 hours depending on material; brightness consistent per sticker but limited area per piece. |
| Requires prep, masking, ventilation; more permanent and weather-resistant once cured. | Peel-and-stick application, minimal prep, removable but adhesive can weaken over months. |
| Better for large, immersive murals; cost varies by volume but efficient for big areas. | Better for quick party setups or rental spaces; cost can rise if you need hundreds for full-wall coverage. |
Pros of Glow Paint
You can achieve large, continuous murals and fine detail with glow paint, letting you blend gradients or stencils that glow uniformly; high-performance photoluminescent paints often deliver 6–12 hours of visible glow after a strong UV charge, and a 250 ml jar can cover several square feet with 2 coats, so your investment scales well for full-wall installations.
Cons of Glow Paint
Application takes time and prep—you’ll likely need 2–3 coats, masking, and 24-hour drying between layers, plus ventilation for solvent-based formulas; uneven brush strokes or thin spots reduce glow intensity, so you must plan coats and lighting carefully.
More details: paint requires surface prep like sanding and priming for best adhesion, and thin or single coats often look patchy under UV; for reliable party performance you should test a sample area, factor 8–24 hour cure schedules, and budget for extra paint (roughly 10–20% overage) to avoid visible seams in your mural.
Pros of Glow Stickers
Stickers let you outfit a wall in minutes with no drying or fumes—apply pre-cut shapes, stars, or custom vinyl decals and your setup time drops to 30–60 minutes for dozens of pieces; they’re ideal if you need a temporary, low-mess solution that you can remove after the event.
More details: high-grade photoluminescent vinyl maintains adhesion for months in indoor conditions, and you can mix sizes (1–6 inches) to cover focal areas efficiently; plan for spacing—using 100 medium stickers creates a dense pattern quickly, but larger coverage needs many more pieces and increases cost.
Cons of Glow Stickers
Stickers limit you to preset shapes and edges, making seamless murals difficult; adhesive can peel on textured or humid surfaces, and covering large areas becomes expensive compared with paint, so they’re less suited to full-wall immersion.
More details: edges may lift after heavy handling or in high humidity, and visible seams break the continuous glow effect; if you want a wraparound mural look you’ll either need custom-cut vinyl (higher price) or strategic layering, both of which add time and expense compared with painted solutions.
Fun Ideas for Glow in the Dark Wall
Creative Designs and Patterns
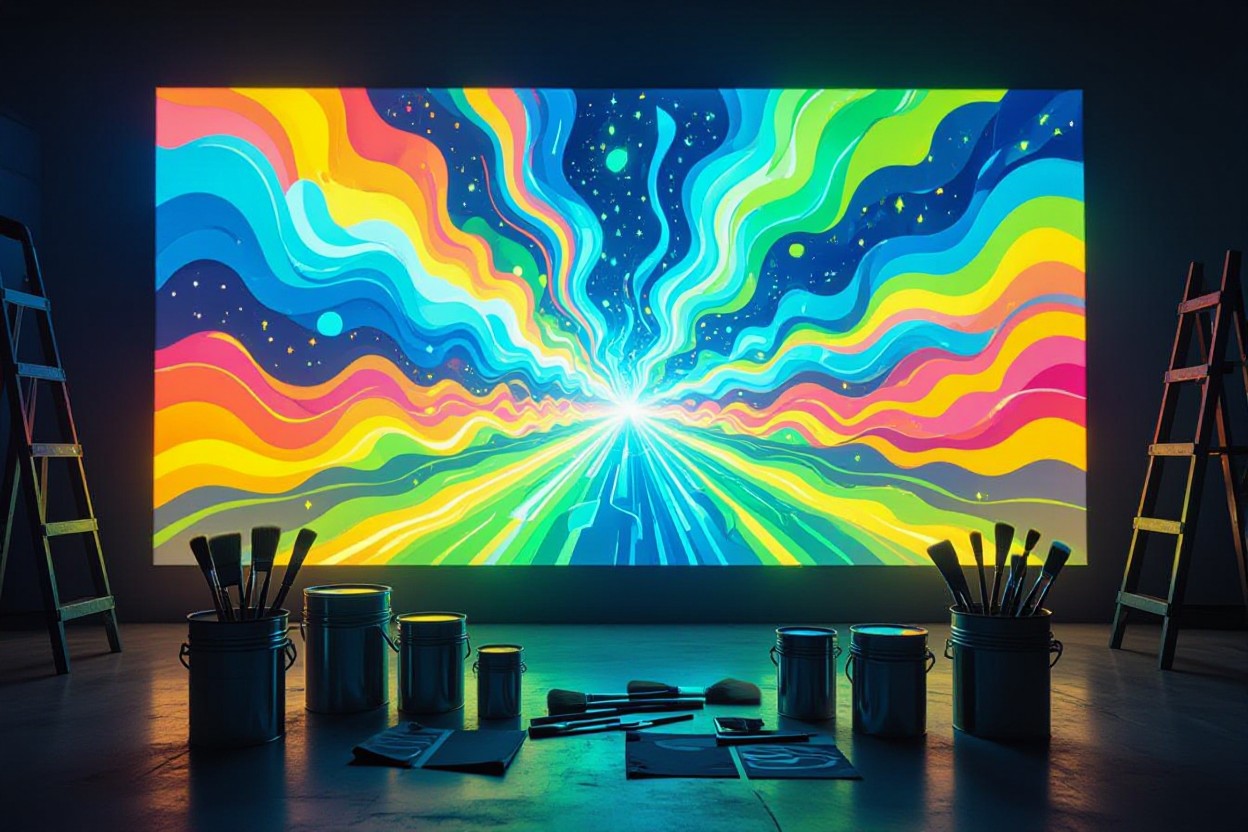
Try geometric grids, stenciled silhouettes, or a galaxy mural using 2–3 contrasting glow colors like neon green, blue, and pink. Use painter’s tape for crisp lines and 1–3 stencils per 4 ft section to speed layout; spacing dot stickers 2–4 inches apart creates constellation effects. Mix glow powder into clear medium for gradients, or apply broad swaths of paint for large murals — paint gives uninterrupted coverage, while stickers let you rearrange patterns for different parties.
Interactive Activities
Set up a UV drawing station with fine-tip glow markers and a blacklight torch (365–395 nm) so guests can sketch directly on the wall; provide 6 colors and aprons. Run a 10-clue scavenger hunt using invisible UV paint—hide clues in 1–2 minute intervals around the room. Also consider glow bowling with 6 painted bottles and a soft ball, or a neon photo corner with foam props for instant party photos.
For the scavenger hunt, write clues in invisible UV paint that recharge under room light for ~10–20 minutes to glow several hours; place 8–12 clue spots and give teams 5–8 minutes per clue to keep pace. For the drawing station, include a wet-wipe bin, spare markers, and a 3×3 ft grid taped on the wall so kids create collaborative murals without overlapping designs.
Safety Considerations
You should ventilate the room, test paints on a small patch, and keep small items like sticker backings away from children. Use water‑based, low‑VOC products and wear nitrile gloves when applying spray or concentrated pigments. Supervise kids at all times, avoid ingestion of any materials, and store leftover paint and UV torches out of reach. Check product labels for AP non‑toxic or EN71 toy compliance.
Non-Toxic Materials
Choose water‑based glow paints and phthalate‑free stickers. You can select strontium aluminate pigments, which are non‑radioactive and glow 10–20× longer than older zinc sulfide variants, reducing need for recharging. Still, avoid loose powders around children; wear a mask when sanding or mixing pigments. For labels, look for AP non‑toxic, ASTM D4236, or EN71 compliance to ensure safer use at parties.
Precautions with UV Light
Use UVA blacklights in the 365–395 nm range and avoid prolonged direct exposure to eyes or bare skin; UVA is less energetic than UVB/C but still harmful with repeated contact. Keep handheld torches at least 30 cm from your face, supervise children, and choose bulbs or LEDs from reputable brands with documented output. Never point a UV beam into someone’s eyes.
You should wear ANSI Z87.1 or UV‑blocking eyewear when operating strong blacklights, and limit glow sessions to short intervals—aim for under 15 minutes per continuous exposure for close‑range handheld units. Also prevent reflections by angling lights away from mirrors and windows, avoid DIY UV lasers or high‑power emitters, and monitor device temperature to prevent burns; signage and adult supervision help enforce safe use at parties.
To wrap up
On the whole you can transform a party space quickly by choosing either glow paint or stickers and a UV torch; you’ll weigh durability versus ease, paint for seamless murals and stickers for fast setup. Follow safety and placement tips, plan designs that invite interaction, and test lighting to get the best glow for your guests.