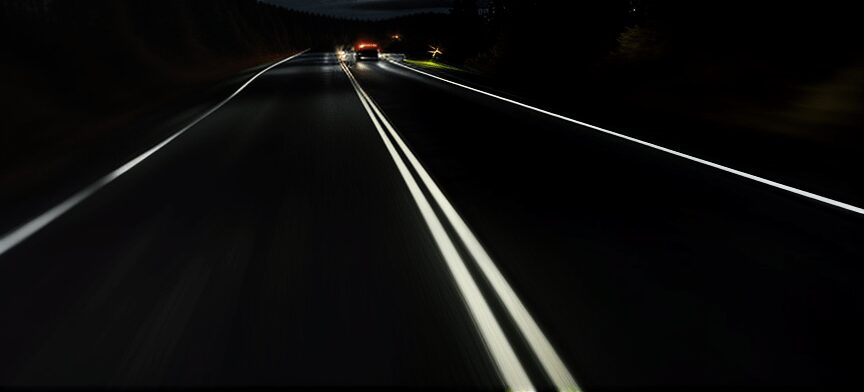
Glow in the dark road markings are an innovative solution to enhance road safety, particularly at night or in low-light conditions. These markings absorb sunlight during the day and emit a luminescent glow after dark, helping to guide drivers and pedestrians. In this article, we’ll delve into the procedure for creating these markings, including the products required, the step-by-step process, and the expected lifespan of the markings.
Products Needed
Table of Contents
- Glow in the Dark Pigment:
- Type: Photoluminescent pigments, usually made from strontium aluminate.
- Color: Available in various colors, with green and blue being the most common due to their brightness and duration of glow.
- Particle Size: Typically, a larger particle size (30-50 microns) is preferred for road markings to maximize visibility.
- Clear Binder or Resin:
- Type: Polyurethane, acrylic, or epoxy resin.
- Purpose: To bind the glow pigment to the road surface.
- Properties: UV-resistant, durable, and weather-resistant.
- Anti-Skid Additives:
- Type: Glass beads, silica sand, or aluminum oxide.
- Purpose: To ensure the road surface remains non-slip.
- Primer:
- Type: Road surface primer compatible with the binder/resin.
- Purpose: To enhance the adhesion of the glow in the dark markings to the road surface.
- Application Tools:
- Rollers or Spray Equipment: For applying the primer and the glow in the dark mixture.
- Stencils or Tape: To create precise road marking patterns.
- Brushes: For touch-up work and smaller areas.
- Measuring Tools: To ensure consistent application thickness.
Step-by-Step Process
- Surface Preparation:
- Cleaning: Thoroughly clean the road surface to remove dirt, debris, oil, or any other contaminants. This can be done using a pressure washer or a scrubber, depending on the surface condition.
- Drying: Allow the surface to dry completely. Moisture can interfere with the adhesion of the primer and the glow mixture.
- Application of Primer:
- Mixing: Prepare the primer according to the manufacturer’s instructions.
- Application: Apply a thin, even layer of primer on the road surface using a roller or spray equipment. Ensure the primer covers all areas where the glow in the dark markings will be applied.
- Drying: Allow the primer to cure for the recommended time, typically 1-2 hours, depending on the product and environmental conditions.
- Preparation of Glow in the Dark Mixture:
- Mixing: Combine the glow in the dark pigment with the clear binder or resin. The typical ratio is around 30-40% pigment to 60-70% binder by weight. Mix thoroughly to ensure even distribution of the pigment.
- Adding Anti-Skid Additives: Incorporate anti-skid additives into the mixture. The amount depends on the desired texture and safety requirements. Stir well.
- Application of Glow in the Dark Markings:
- Stenciling: Use stencils or tape to outline the areas where the markings will be applied. This step is crucial for achieving clean, precise lines.
- Application: Apply the glow in the dark mixture within the stenciled areas using a roller, spray equipment, or brush. The layer should be even and consistent in thickness, typically around 1-2mm.
- Multiple Coats: For enhanced durability and brightness, consider applying multiple coats. Allow each coat to dry before applying the next one.
- Curing and Setting:
- Initial Cure: Allow the markings to dry for 24 hours before exposing them to traffic. This will ensure the binder fully sets and the markings adhere properly to the road surface.
- Full Cure: The markings may take up to 72 hours to fully cure, depending on the resin used and the environmental conditions.
- Inspection and Touch-Up:
- Visual Inspection: After curing, inspect the markings for any inconsistencies, missed spots, or uneven thickness. Touch up as necessary using the remaining mixture.
- Anti-Skid Check: Verify the surface’s skid resistance. If needed, apply additional anti-skid additives on top.
Lifespan of Glow in the Dark Road Markings
The lifespan of glow in the dark road markings depends on several factors, including the quality of materials used, environmental conditions, and traffic load. Generally, these markings can last anywhere from 3 to 7 years. The glow intensity will gradually diminish over time, but the markings should still retain some luminescence beyond their expected lifespan.
- Factors Affecting Lifespan:
- UV Exposure: Constant exposure to sunlight can degrade the binder and reduce the glow effect over time. High-quality UV-resistant binders can extend the lifespan.
- Traffic Wear: High traffic areas may experience faster wear and tear, necessitating more frequent touch-ups or reapplications.
- Weather Conditions: Extreme weather, such as heavy rain, snow, or high humidity, can impact the durability of the markings.
- Maintenance:
- Regular Cleaning: Periodic cleaning can help maintain visibility by removing dirt and grime that can obscure the glow.
- Reapplication: Depending on wear and glow intensity, reapplying a new coat every few years can help maintain effectiveness.
Conclusion
Glow in the dark road markings are a cutting-edge solution for improving road safety during nighttime or low-visibility conditions. By following the procedure outlined above and using high-quality materials, these markings can provide an effective and long-lasting luminescent guide for drivers and pedestrians. Proper maintenance and periodic reapplication will ensure that these markings continue to serve their purpose for years to come.