
When creating glow in the dark sand art, you must choose between mixing glow powder with clear spray; you’ll get the brightest glow from concentrated powder but face inhalation risk and a very messy process, while pre-mixed paint is an easy, clean option with predictable shelf life; learn application for sand art, child-safe handling, and sealing tips with protective coatings.
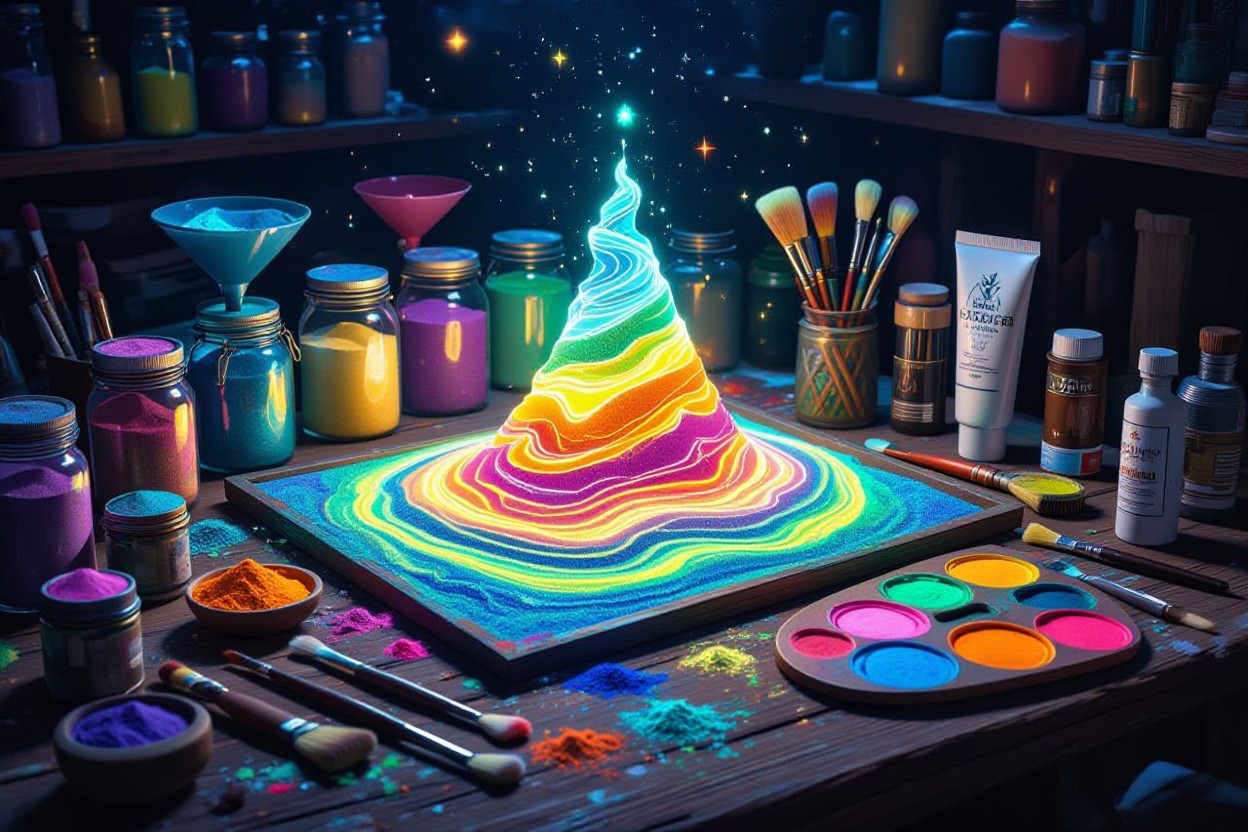
Table of Contents
Key Takeaways:
- Powder method yields the brightest, most customizable glow but is messy, requires a clear binder (spray/varnish) and thorough sealing to prevent fallout and loss of brightness; not ideal for unsupervised kids.
- Pre-mixed glow paint offers consistent coverage, easy application, lower mess and better shelf stability—best for large surfaces or child-friendly projects—but can be less intense than powder and sometimes costlier per unit glow.
- Mixing your own invites challenges: pigments settle quickly, so use anti-settling agents, thicker suspending media or frequent agitation; binder choice affects glow efficiency and adhesion.
- Surface prep and technique matter—clean, dry, primed surfaces and multiple thin coats work best; for layering, containment, and decorative grains see sand art (https://en.wikipedia.org/wiki/Sand_art).
- Protect durability with a suitable clear, UV-resistant topcoat to reduce abrasion, moisture loss and fading; choose protective coatings (https://en.wikipedia.org/wiki/Protective_coating) based on exposure and desired finish—powder for max brightness, pre-mixed for convenience and consistency.
The Allure of Luminous Sands: Why Glow Art is Unique
Your sand art pieces gain a second life after lights-out: the granular texture scatters charge-storing phosphors so layers, gradients, and clear binders read as depth and motion when they glow. Using fine versus coarse sand changes diffusion and perceived brightness, while selectively charging areas with a UV torch lets you create sequenced effects. Strontium aluminate powders deliver longer, brighter afterglow, making sand art both decorative and functional for low-light accents in terrariums, jars, or wall panels.
Historical context of glow-in-the-dark materials
You encounter two clear lineage points: early 20th-century radium luminous paint—used on watch dials and later linked to the Radium Girls health scandal—gave way to zinc sulfide pigments mid-century, which offered limited duration. Industrial adoption of strontium aluminate in the 1990s provided non-radioactive, much longer afterglow pigments, shifting makers from novelty trinkets to durable craft and safety applications.
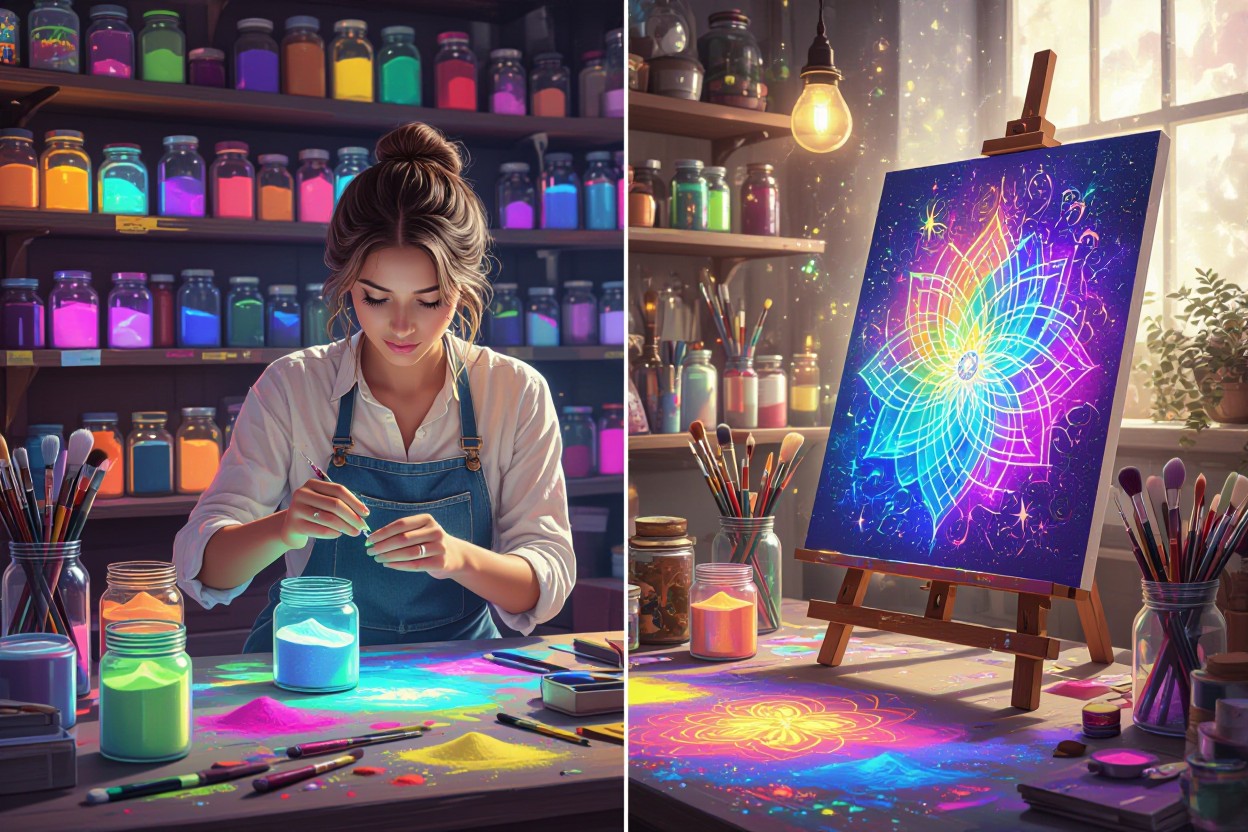
The modern resurgence of glow sand art in DIY culture
You’re seeing more tutorials and kits because modern phosphors and easy adhesives make consistent results achievable at home. Makers favor powder-forged brightness in resin coasters or sand bottles, while beginners and kid projects lean on pre-mixed paints for cleaner, ready-to-use finish and predictable shelf life. Always mitigate powder inhalation with a mask and keep fine pigment out of children’s reach.
Community-driven platforms accelerated the trend: YouTube and TikTok tutorials break down the powder method (mixing loose phosphor into clear epoxy or misting with clear spray) versus one-step pre-mixed paints. You can prevent pigment settling by adding a thixotropic agent (fumed silica at ~0.1–0.5% by weight) or by using mechanical stirring and periodic agitation in larger batches. Pre-mixed options trade a bit of peak brightness for consistency and less mess; manufacturers often cite unopened shelf lives of 1–3 years depending on solvent content, while dry powders remain stable if kept desiccated. For practical workflow: prep surfaces dry and dust-free, charge strontium-aluminate blends under direct sunlight for 5–15 minutes or under a handheld UV lamp for faster results, and finish with a clear protective coat to lock in texture and prevent abrasion from sand handling. For projects involving kids, opt for pre-mixed paints or fully encapsulate powders in resin to eliminate inhalation risk.
Crafting with Glow Powder: A Step-by-Step Guide
| Quick Overview | Safety & Prep |
|---|---|
| Use strontium aluminate powder for the brightest, longest glow; mix into a clear binder (acrylic spray, resin, or Mod Podge) at roughly 20–30% by weight or dust onto wet clear coats. Layering sand with intermittent sealing yields depth and durability. | Work outdoors or with ventilation, wear an N95 respirator, goggles and gloves. Keep powder away from children and avoid eye or skin contact; dispose of excess dust safely. |
Essential materials and tools for the powder method
You’ll need strontium aluminate glow powder (green or blue for strongest output), clear binder (spray acrylic, epoxy resin, or PVA/Mod Podge), fine sand (sifted 0.2–0.5 mm), mixing cups, a precision scale, stir sticks, an N95 respirator, safety goggles, nitrile gloves, a UV flashlight or blacklight for charging, and a clear sealer spray to lock layers.
Detailed process for creating stunning glow sand art
Prep by drying and sifting sand, then either mix powder into binder at ~1:3 powder-to-binder by volume (≈20–30% wt) or apply clear coat to sand and sprinkle powder while tacky; pack layers in 1–2 mm passes, cure 15–30 minutes between coats, and finish with a clear sealant—charge briefly with a 365 nm UV LED (10–30 seconds) or sunlight for 10–15 minutes to test glow strength.
For best results you should test small batches: mix 10 g powder into 30 g epoxy to judge viscosity and brightness, or try dust-on technique by spraying a thin acrylic layer, sprinkling powder, then tamping gently—this yields brighter surface glow but is more prone to abrasion. Allow full cure (resin 24–72 hours, acrylic sprays 24 hours) before heavy handling, and add 2–3 protective topcoats for outdoor pieces; if you spot settling in mixed batches, stir every 3–5 minutes during application or add a commercial anti-settling agent designed for pigments. Strong ventilation and keeping kids at a distance prevent inhalation incidents with the fine dust.

The Pre-Mixed Approach: Convenience Meets Creativity
Pre-mixed water based glow paints give you ready-to-use consistency: pigments are factory-dispersed, viscosity is tuned for brush or spray application, and many water-based formulas dry quickly—typically 15–30 minutes—so you can layer on sand art without long waits. You’ll save time on measuring and clean-up, reduce powder dust and inhalation risk, and get predictable opacity and glow for detailed patterns; one user reported the cans were “clean, easy, and works like a charm.”
Advantages of using pre-mixed glow paints
You get predictable brightness and workflow: commercial pre-mixes with strontium aluminate or zinc sulfide offer consistent luminance and dispersion, and strontium-based options can outlast zinc sulfide by up to 10×. Choice of sprays, brushable jars, and pourables lets you coat individual sand grains or fill stencils quickly, while factory thickeners and anti-settling agents cut down on clogs and mess—handy when you’re crafting with children or on a deadline.
Limitations: Shelf life and performance considerations
Pre-mixed paints age and lose effectiveness; most brands state unopened shelf life of 1–2 years and recommend using opened containers within 6–12 months. Exposure to heat, UV, or freeze-thaw cycles promotes binder breakdown and pigment settling, causing reduced brightness. Some solvent-based formulations are flammable and higher-odor, so check product labels before indoor or child-facing projects.
Look for warning signs like clumping, a watery separation layer, off-odors, or visibly diminished after-dark glow to assess degradation. You can often revive mildly settled jars by vigorous shaking or rolling for 1–2 minutes, then straining through a 100–200 µm mesh to remove grit; persistent decline means use the paint for undercoats or replace it—mixing fresh powder into a new binder will restore peak luminosity faster than trying to salvage badly degraded pre-mix.
Battle of the Techniques: A Comparative Analysis
| Technique Comparison: Glow Powder vs Pre-Mixed Paint | |
|---|---|
| Glow Powder | Pre-Mixed Water Based Paint |
| Brightness: allows higher pigment loading (typically 10–30% by weight), producing stronger, longer afterglow when charged with UV light. | Brightness: factory mixes usually contain 5–15% pigment, giving consistent but generally dimmer glow and shorter duration. |
| Convenience: requires measuring, mixing with clear binder or spray, and PPE for dust control; highly customizable for sand textures. | Convenience: ready to use, low mess, ideal for quick sand art or work with kids; no onsite mixing required. |
| Durability: depends on your chosen binder and clear coat; proper sealing can match pre-mixed longevity. | Durability: formulated binders often offer predictable adhesion, UV/stain resistance, and easier topcoating. |
| Cost: lower long-term cost per gram of pigment; a 50 g bottle typically runs $10–$30 and serves multiple projects. | Cost: higher per-volume cost—100 ml cans commonly range $8–$20; efficient for small, single projects. |
| Safety: dust/inhalation hazard; use mask, gloves, and keep away from children during mixing. | Safety: less airborne dust, but check VOCs and flammability on labels before use around kids. |
Brightness and visibility: Which method shines brighter?
You can achieve the strongest glow by using loose strontium-aluminate powder mixed into a clear binder or sprayed onto wet sand, because pigment loadings of 10–30% produce noticeably longer afterglow than typical pre-mixed paints at 5–15%. Surface texture and charging source matter: UV/blacklight charging boosts intensity, and thinner clear coats let the pigment outshine thicker, pigment-diluting factory binders.
Cost-effectiveness and ease of use: Balancing quality and affordability
You’ll save money long-term with raw powder—buying 50 g for about $30–$50 covers many panels—yet mixing adds time, mess, and a dust/inhalation risk. Pre-mixed paint costs more per ml (roughly $40–$70 per 100 ml) but minimizes waste, cleanup, and setup time, making it the practical choice for quick sand-art kits or work with children.
For a practical example, plan on roughly 10–20 g of pigment to heavily coat a 12×12-inch sand panel (or about 40–60 ml of pre-mixed paint for full coverage). If you expect to produce multiple pieces, powder pays off: you can repartition one 50 g bottle across several projects, and adjust binder ratios to tune viscosity and translucency. Use anti-settling additives or periodic stirring when using pre-mixed paints to prevent pigment drop-out; powders require PPE during weighing but offer the flexibility to boost pigment loading for brighter, longer-lasting luminescence.
Safety First: Ensuring a Kids-Friendly Crafting Experience
Keep glow projects contained and ventilated: work outdoors or next to a window with a fan, lay down a disposable drop cloth, and label storage jars. Use N95/P2 masks during any powder handling, wear nitrile gloves and goggles, and wash your child’s hands for 20 seconds after each session. Restrict powder access to children under 3 and store materials in airtight, labeled containers to prevent accidental ingestion or inhalation.
Recommended precautions when working with glow materials
Wear gloves, eye protection, and an NIOSH-rated N95 mask when measuring or sprinkling glow powder; avoid dry sweeping—wipe surfaces with a damp cloth or use a HEPA vacuum. Keep food and drinks out of the workspace, seal powders in zip-top bags or jars, and label them with contents and date. If powder contacts eyes, rinse for 15 minutes and seek medical advice; for spills, scoop into a sealed bag before wiping.
Guidelines for children’s participation in glow art projects
Give pre-mixed glow paint to younger kids and reserve powder tasks for those aged 10+ under direct supervision; have an adult handle any spray applications. Use a 1:1 supervision ratio for children under 6, and at least one adult per 3 children aged 6–9. Assign simple, low-dust roles—brushing, sand layering, or sealing—so you control high-risk steps like mixing or aerosolizing powders.
Set up workstation trays with raised edges, measuring spoons, and zip-top bags so kids can pour or press sand without spills; provide child-sized brushes and aprons. Let a 7–9-year-old paint with pre-mixed glow paint while you measure powders in a sealed bag for a 12–15-year-old to fold in with gloves. Prioritize pre-mixed paints for classroom settings to minimize dust and make cleanup faster.
Summing up
With these considerations you can decide whether powder’s superior brightness and custom mixing suit your detailed sand art projects where you can manage mess, or whether pre-mixed glow paint is better for quick, consistent results, longer shelf life, and child-friendly use; prepare surfaces, apply appropriate layers, and seal with suitable protective coatings to maximize durability and safety.
FAQ
Q: What are the main differences between painting with glow-in-the-dark powder (powder method) and using pre-mixed glow paint?
A: Powder applied over a clear carrier typically yields the highest brightness and can be tuned by powder type and layer thickness, but it is messier, requires multiple thin layers and sealing, and demands more setup time. Pre-mixed glow paint is ready-to-use, consistent, cleaner, and easier for large surfaces or wall art; brightness is usually lower than freshly applied powder but durability and handling are better. Cost: powders can be cheaper per gram for high-intensity pigment, but additional adhesives and sealers raise total cost. Convenience/durability tradeoff: choose powder for maximum glow control, pre-mixed for speed and cleanliness.
Q: Step-by-step: how do I use glow powder with clear spray or adhesive for sand art or painted surfaces?
A: Surface prep: clean and dry the surface; for loose sand, pre-coat grains or the container area. Method: 1) Apply a thin, even coat of clear spray or clear glue/varnish. 2) While tacky, dust or sprinkle glow powder evenly (use a fine sieve or shaker). 3) Gently press powder into the wet layer with a soft tool or finger wrapped in protective film. 4) Let cure fully, then repeat thin coats until desired glow is achieved—avoid thick single coats to prevent flaking. 5) Seal with a compatible clear protective coating (thin multiple coats preferred) to lock pigment and reduce abrasion. For mixing into a liquid medium: test small batches (powder can clump or settle), use a high-solids clear medium and a flow modifier if needed, and strain before use.
Q: How can I apply glow techniques specifically to sand art projects (jars, bottles, glued sand layers)?
A: For layered sand jars, pre-mix small amounts of sand with clear PVA or a diluted clear varnish and a dusting of glow powder; let each layer dry before adding the next to preserve crisp layers. Alternatively, build normal colored sand layers, then selectively paint the interior face of the glass or exterior patterns using the powder-over-clear-spray method. Use a funnel, fine sieves, or a shaker for even distribution when coating loose sand. For tips on sand art techniques and presentation, see https://en.wikipedia.org/wiki/Sand_art.
Q: What safety and handling precautions should I follow, especially with children involved?
A: Work in a well-ventilated area or outdoors; use dust masks and gloves when handling powders to avoid inhalation and skin contact. Keep powders and solvents away from children and pets; supervise any child activity, limit tasks to non-dusting steps (pressing, layering) for young kids, and reserve powder handling to adults. Use low-VOC or water-based pre-mixed paints and sealers around children when possible. Dispose of waste responsibly and avoid ingestion of any materials. For sealing steps, choose a clear protective coating compatible with your medium and apply per label directions: https://en.wikipedia.org/wiki/Coating_(materials).
Q: What common problems occur (settling, fading, adhesion) and how do I decide which method to use?
A: Settling: powder mixed into liquids tends to sink or clump; use thickeners, fumed silica, or commercial anti-settling additives, and stir frequently. Fading/dulling: UV exposure, abrasion, and improper sealing reduce glow—protect with clear topcoats and avoid harsh cleaners. Adhesion: ensure surfaces are clean and slightly porous or use a primer/adhesive for slick substrates. Choose powder method when you need maximum brightness, custom intensity, or textured effects and can tolerate extra prep and sealing. Choose pre-mixed paint when you need consistent results, faster application, easier storage, and lower mess—ideal for wall art, kits, and projects with children under supervision. Test small samples to compare brightness and durability before committing to large pieces.